For this tutorial, I’m going to demonstrate the importance of tuning your drum samples to fit the track that your working on. I’m going to be using Ableton live, but the theory applies to any DAW.
So you’ve found some good sounding drums, and a good melody that fits the song. Everything seems to be groovin and working together, but perhaps there is something that you may have missed that can make it sound even better? …
Tune your drums!
“But I don’t have a drum key to tune my digital samples.” Don’t worry, that’s not what I mean. Here is a scenario to demonstrate how tuning your drums can enhance your track:
Lets first start with the kick drum. Say you have a melody that sounds great, and a kick drum that you love. They sound okay together, but it doesn’t have that “wow” factor that you hear on the dance floor. Instead of spending a bunch of time going through different kick samples (which can be a very long procedure), try experimenting by tuning your drums. In Ableton, it’s a very simple procedure, and I can imagine it’s a similar process with other DAWS. In Ableton, all you have to do is click on the sample and utilize the “transpose” option. By transposing a kick drums fundamental pitch up or down, you will find that more than half the time the kick will begin to groove with the key of the song better. Sometimes you will find that the original pitch of the sample is the key of the song, but many times by transposing it up 1-3 , or more likely down 1-3 notes you will find a pitch that works better with the key of the song.
Here is a secret that I’ve found if you are having trouble identifying the main note of the kick drum. Because humans can hear with more accuracy for frequencies in the mid and high range, take your kick drum and transpose it up a whole octave (12 steps). Now, go up or down a few notes until you find the one that fits with the key of the song better, then subtract/bring it back down 12 from that. I don’t know if this is something everyone does who tunes drums, but it’s just a little trick that has helped me tremendously over the years.
Now that you realize you can tune your kick drum, why stop there? Try it with the snare/clap. You may find a spot where the snare drum “resolves” better. Maybe the hi hats sound better tuned lower than higher (where they seem harsh.)
Another reason why transposing is good is because you can effectively change the EQ curves of the drums without needing to do extreme EQing. Remember if the sound isn’t good to begin with, no amount of EQing can make that sound work. Tuning a kick drum down (if it works with the key of the song), can now make room for the bass on top, or vice versa. Maybe tuning your hats up, leaves more space for the synth pads to sit behind it. Be creative with it, but know that you can use it as a mixing tool too. At this point you may ask, well why don’t you keep cycling through samples until you find one that does work with the song. Well many times I’ll find that I like the characteristic of a sample, but it may not work with the song, or I don’t like the characteristic of the sound, but it works great from a mix perspective in the context of everything else. The point is to give you extra flexibility with samples, so you don’t have to spend hours cycling through them to find the one that’s perfectly in tune with the track. (Having said that, I do recommend you spend at least some time cycling through sounds to find the highest quality sample that sounds the closest to the end result you want.) Having to pitch and shape the sound is only added work, and if you get lucky with not having the do any of this , of course that’s preferable. But, chances are you will have to pitch and shape your drums at some point, so it’s good to get into a habit of experimenting with it.
Something Id like to also point out is that it is okay to leave some dissonance with your drum tuning. Everything doesn’t have to be in tune. Sometimes it creates a good tension , and makes it stand out in the mix more if a certain percussion isn’t entirely in tune with the rest (think detuning to make sounds stand out). So try around and experiment and see what sounds better.
Another aspect of tuning your drums is to edit the envelope. Similar to how a drummer would add padding and mute the drums so it doesn’t sustain as long, you can do this digitally in the realm of your DAW. Once again, using Ableton , you can take away some of the natural sustain of the samples by adjusting the sustain in the ADSR envelope editor. Very often with snares (especially real snares) for example, the initial pitch (the attack) is different from the pitch of the sustain of the snare. Maybe you find that the pitch of the sustain bends up or down and doesn’t sound in “key” with the track. In this case, try shortening the decay/sustain of the sample and see if it yields better results.
The bottom line is that you shouldn’t just find good samples and leave it at that without making them fit with the rest of the song. Chances are they can sound much better with the track. By simply adjusting the pitch, and envelope of samples you can really make or break the drums on a song. So play around with it, experiment, and have fun!
Dan Zorn, Engineer
Studio 11
209 West Lake Street, Chicago IL
Whether you’re making house, techno, hip hop, or any other form of electronic music, chances are you are going to be using electronic drum samples that you’ve sampled yourself or downloaded from the internet. The way of sequencing these samples in your DAW may vary depending on the your preference, and what software/tools you have. You can use built in step sequencers, play out your samples on a midi keyboard, pencil in notes one by one, or move around audio clips. However, no matter what your method is, a lot of the times electronic drums can sound very stale, or robotic if the necessary steps aren’t taken. This is because computers and sequencers are repeating the exact same digital sample, and because we humans are very capable of picking up minute differences , (or a lack thereof in this case), drums quickly become plain and boring. So I’m going to give you a few tips on how to create these differences, and make your drums sound more human, less robotic , and have more feeling.
I mentioned that there are a lot of ways to enter your samples into your DAW. I myself have tried all methods of sequencing drums, and have recently found a good formula that works for me and hopefully for you too. Instead of sticking to just using one form of entering samples, using a combination of midi drums, penciling in notes, and placing audio samples, is the best way to get what you want. Every method has it’s pros and cons, so it’s good to learn the in’s and outs of all of them, so you can use each when necessary. So without further adieu, I’m going to walk you through a hypothetical situation of building up some drums and point out tips on how to make them sound less robotic.
1) Kick Drum. Start by finding a good sounding kick drum. When trying to humanize a kick drum, there’s actually not much you can or should do. A kick drum is mostly sub, lows and low mid frequencies, and because we “feel” more than we “hear” with those frequencies, any subtle variation of pitch, velocity or duration will be very tough to hear, and will almost always go unnoticed. So this is when I just pull up a kick drum audio sample, and drag it in to the edit window.Once you find a good kick sample, drop it in for a few measures, then loop it.
2) Snare Drum/Clap. This is an element that can go both ways. You can choose to have it robotic (sound more like a drum machine), or change it up and add some feeling to it. It all depends on the groove of the song. Unlike the kick drum, we can detect small volume, duration and pitch differences in this frequency range (mids, high mids) , so whatever changes you make will be heard more easily. If you do decide to humanize it here are some things you can do: Instead of penciling it in, or dragging the audio clip, try playing it on a midi keyboard (or even laptop keys) without quantizing it. The small timing inconsistencies will help them sound more like a real person is playing it. Because lets face it, even if you are a professional drummer, achieving perfect timing is very difficult. As a result, some notes will be close to dead on, some will be ahead and some will be lagging behind. This is called adding “shuffle” to the track. On top of that, if your keyboard is velocity sensitive (and the velocity on your drum rack is engaged), you will create a subtle change in volume as the song goes on. (You can also change the velocity after the performance to really get the perfect grove). Also try experimenting with changing the pitch a few cents/semitones every so often to change it up even further. You can also experiment with changing the decay of each hit. Maybe on every other note you shorten the decay a little bit, and have the last one of the measure extra long? The possibilities are endless!
3) Hi Hats Similar to the snare drum, playing out hats on the keyboard will result in a more live sound. Although if your playing faster notes , like 1/16th notes, you may want to quantize, but not 100%. It’s good to leave some notes on the beat, and some off. Also with the quantize function, you can go through a variety of quantizing patterns. Certain DAWS have a pull down menu of different grooves. Swing, dotted note, shuffle, mpc style, can all add much human love to those hi hats! And aside from timing changes, playing out the notes on a keyboard is going to add subtle velocity changes. You can continue to shape the sound of the hi hats by occasionally altering the decay too. Then after that if that track calls for it, try adding an effect that helps it move even more, like a subtle slow phaser. If mixed in correctly, overtime the phaser will add a very pleasing change to the otherwise robotic sound.
4) Percussion/cymbals- Now that you have a basic groove, you can choose to add the percussion and cymbals in how you’d like. Again, you can experiment with velocity, pitch and time changes, but as your adding more elements, be wary of how it clashes with the sounds that are already there. If you drag a conga in for example, and have them playing in the same place as the hi hats, or snares, make sure they are shuffled the same. In other words, putting a conga on every 4 beats, when a hi hat also comes in every 4 beats, but is shuffled slightly off time, will result in a strange phased sound and will clash greatly. The fix, is to move them so they are aligned on the same plain.
Last step: Automation
Now that you have your drum groove, and its sounding live and interesting, you want to continue by processing it in a similar fashion. Think of how an actual drummer would play a drum kit during a song, and try to bring that knowledge into your drums. The goal isn’t to make your drum samples sound like a real drum kit, but make it sound like a human is playing the samples. So begin automating parts. Maybe during the chorus, the hi hats velocity get louder and more epic, then quieter again in the verse. Try to mold the drums to the dynamics of the song . Maybe automate the wet dry of the reverb so every 8 bars or so the clap as a big splash sound. Creating movement and variation are the two primary goals of making drums sound less robotic, so be creative and have fun with it!
Dan Zorn, Engineer
Studio 11 Chicago
209 West Lake Street
Studio11Chicago@gmail.com
Let’s face it, your’e not rich. You work hard for your money, and when it comes to studio time want to get the most out of the few hours you booked. In the studio, I’ve seen a lot of artists who work super efficiently, but I’ve also seen a lot of artists who use their studio time poorly. I’m going to give you a list of tips on what not to do, and some things that can help you get the most out of your time.
1) Rehearse , rehearse, rehearse! This applies to all artists, bands and rappers alike. The tighter you have your grooves down, the less time we have to take doing overdubs. For rappers, unless part of your aesthetic is freestyling all your verses (Lil Wayne, Common), then I highly suggest writing your lyrics down, and practicing them so you don’t have to do too many do overs. Sometimes artists will just write their verses down in their iphone, then not practice reading them. You must actually practice them! Otherwise (and I’ve seen it) when you get in the booth, you have to do a lot of back writing because you didn’t read it out loud to count the syllable’s correctly,
2) Come early if you can. This way you have time to feel the vibe of the studio, and do any vocal exercises you may want to do before getting in the booth. This way the engineer can start up the session, which takes a few minutes anyway. And if you can’t make the session, always give the engineer a warning a head of time. It reflects poorly on you if you don’t show up without telling anyone, and aggravates the engineer for wasting his time coming down to the studio.
3) Get to know the studio lingo. Knowing terms like “overdub, from the top, fly, in/out/ ad lib, punch, stack” can all make communication with your engineer much easier. It also helps to know a little about music theory. Just basic terms like bars, phrases, measures can go along way. So instead of saying “ can you uh do that thing with that part”, you can say “can you punch me towards the end of the measure”. Any time spent trying to communicate with your engineer is potential time you can be recording!
4) Put your phone on silent. If you do this you wont have to waste time by redoing a take that your phone went off during, and you can wont be tempted to waste studio time by talking to whoever calls you.
5) Bring your own beat on a flash drive or cd. Finding a song on Youtube, then putting it in the Youtube to mp3 converter doesn’t take long for the engineer, but there have been times where the beat wasn’t on youtube. Or it took a lot longer to find the exact version you were thinking of. Sometimes the internet may be down (some studios don’t have internet on their studio computer). It’s best to come prepared so you don’t have to rely on these factors.
6) Get high before . If you are going to get high before your session, do it in the car! Seriously, it takes 10 minutes to roll the blunt, and another 10 minutes to smoke it. If you have 2 hours booked, that’s already 16% of your time wasted.
7) Don’t come with your whole posy, unless they are all in the group. If you are coming to the studio, come with 1-2 people. Chances are they will distract you, and waste your time. I’ve seen it happen too many times to count.
Follow these steps and you will surely get the most out of your studio time!
Dan Zorn, Engineer
Studio 11 Chiacgo, IL
209 West Lake Streeet
Studio11Chicago@gmail.com
How to use effects to enhance your mix.
On August 25th, the young and talented Millenium Barclay / Universal Music France signed rapper ‘Gradur’ arrived at Studio 11 to begin work on his new 13 song untitled mix tape. According to his manager, their reasons for choosing Studio 11 were quite simple. They wanted that “grimey” chicago drill/rap/trap sound and heard that we were the best place in Chicago at delivering. We also assisted them with meet greets, video locations, city tours, and other specialized amenities.
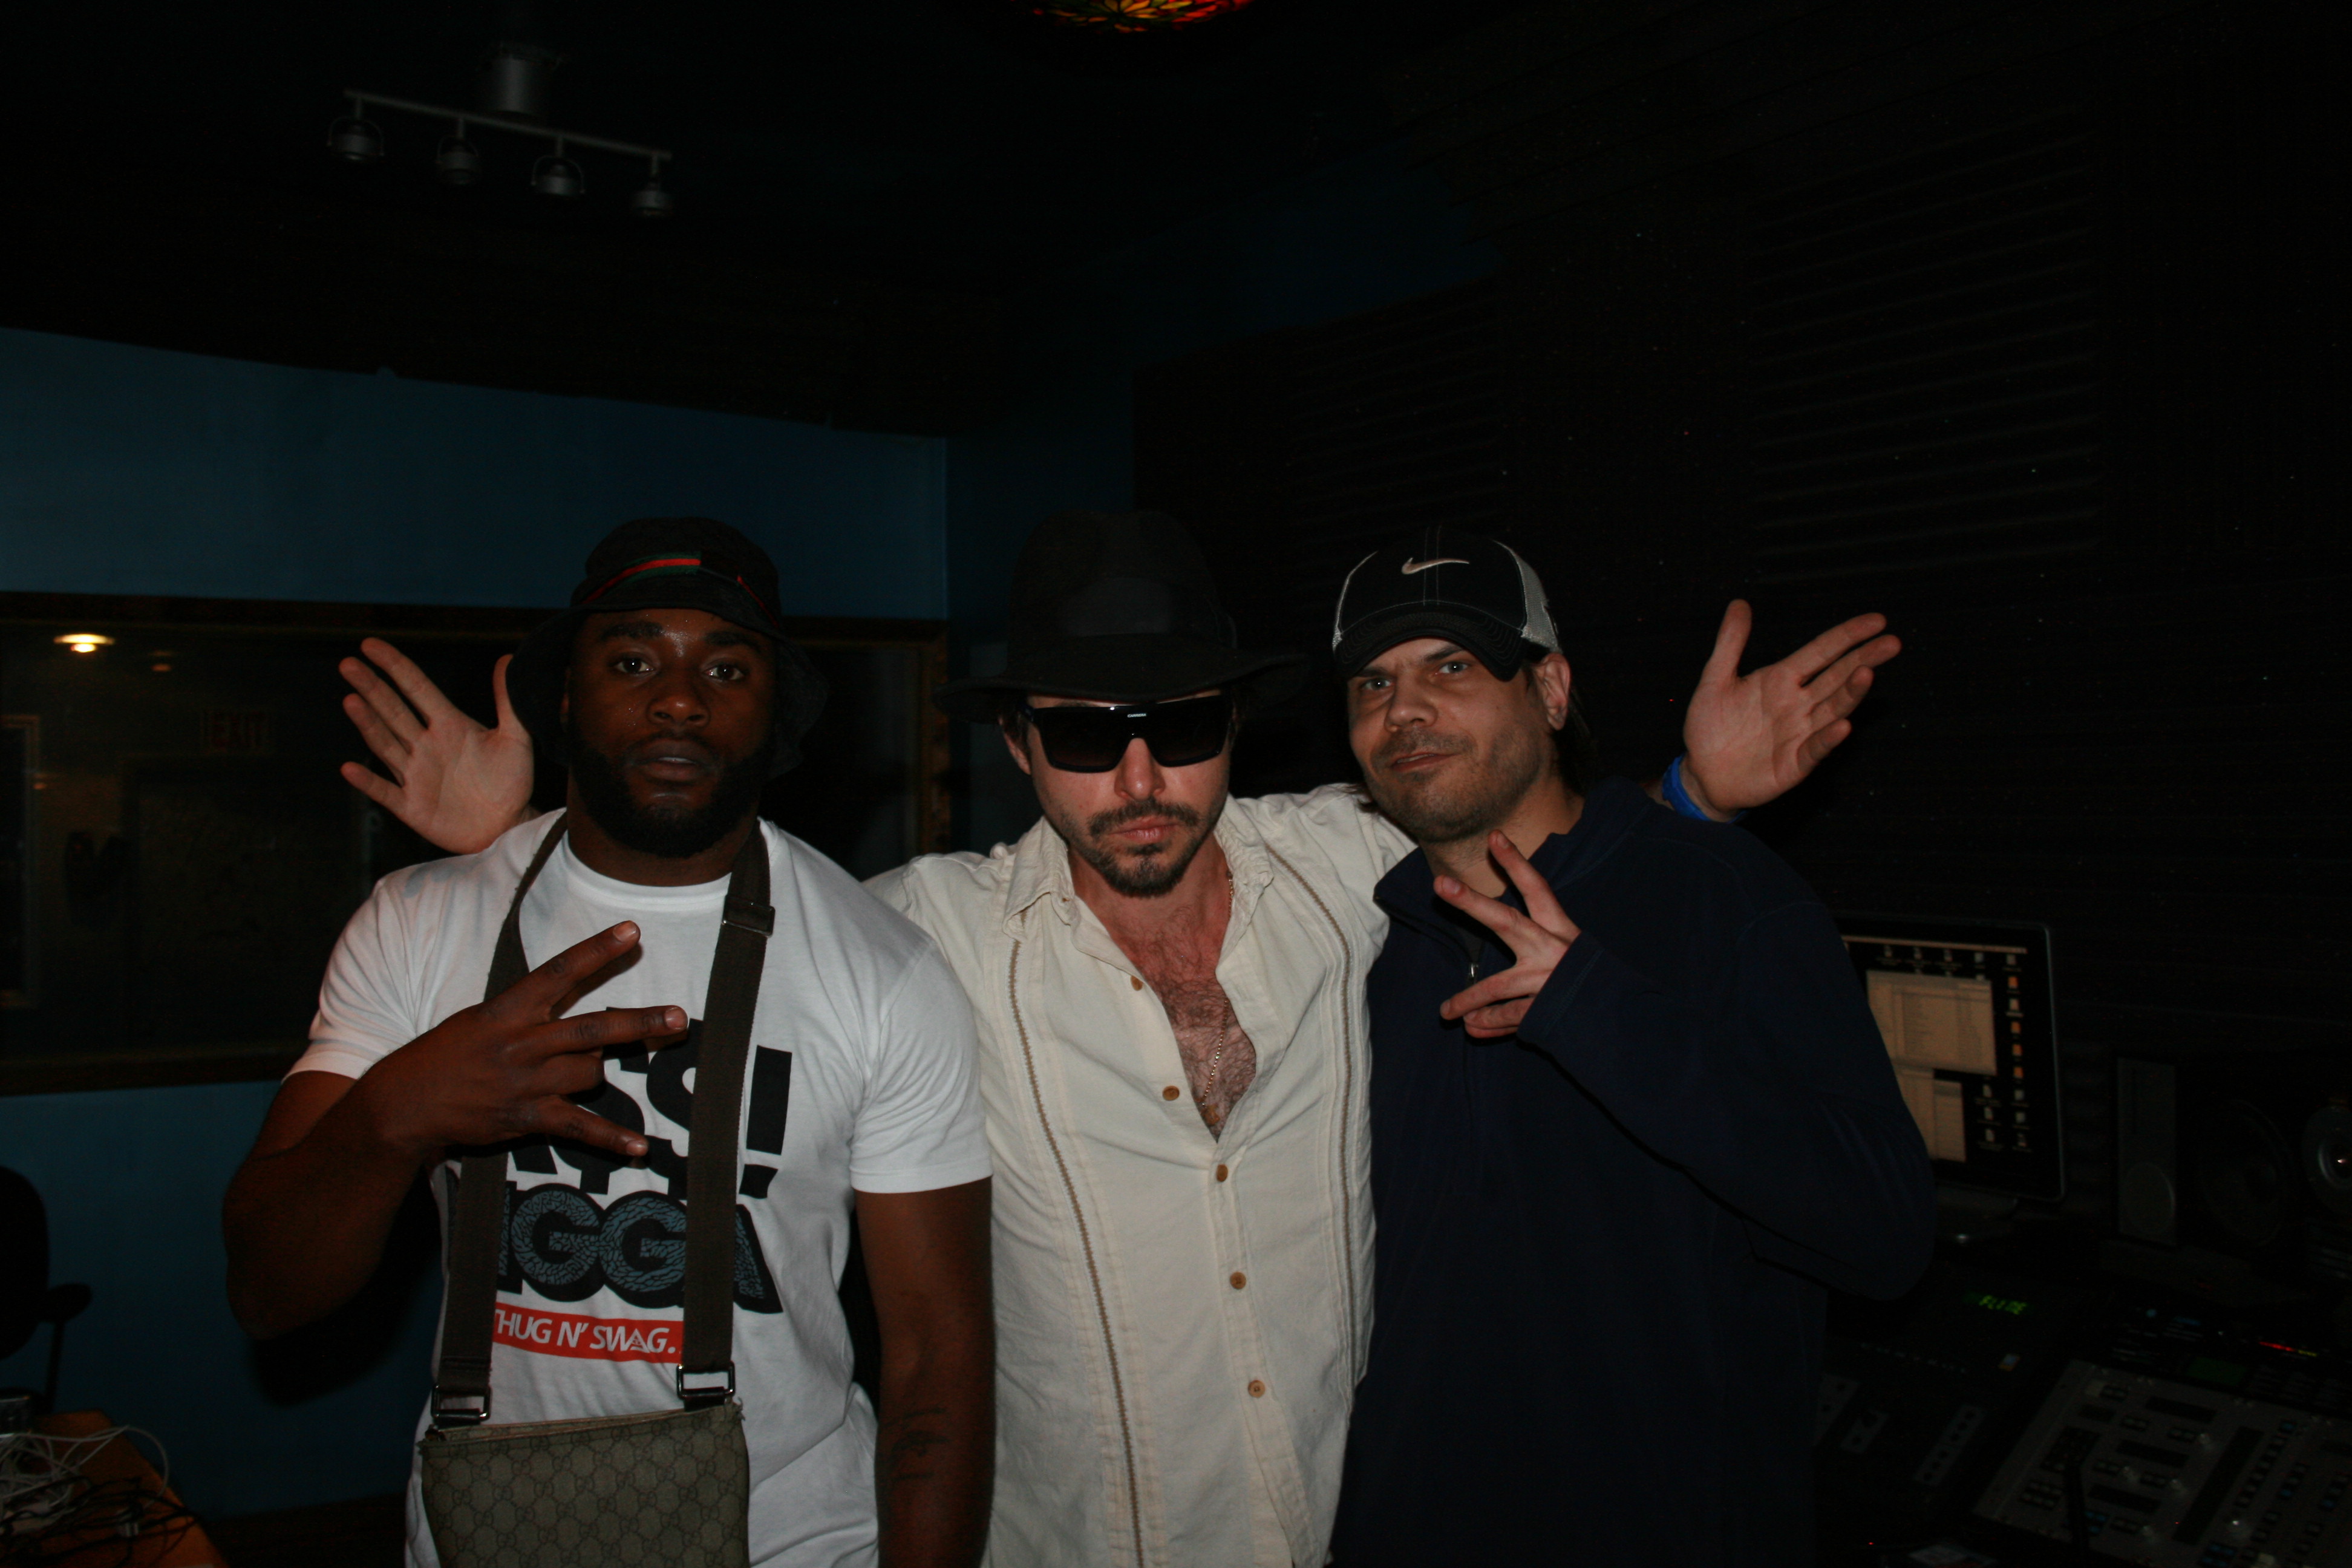
Gradur At Studio 11 Chicago
We were excited to meet and begin working with him, as our research discovered that he was on the verge of becoming the next big rap star out of France. His sound is very similar to some of the big name Chicago trap/drill rappers of the moment, but in our opinion, was a little more eclectic and artsy because of the beats Gradur and his management decided to use.
The vocal recording sessions occurred over a 7 day period of time primarily in Studio 11’s B room, although the A room was used occasionally for listening sessions with other producers such as C-Sick and Johnny May Cash (Young Chop’s brother).
Going in, we knew that the sessions should be fairly simple. Gradur would be rapping and singing over instrumental 2-tracks, which is a fairly common process used when recording rap based music in the studio today. In the B room, we decided to stick with the microphone we had already set up, the Audio Technica AT 4060. Gradur had a bigger, chestier sound, and we found the AT 4060 did a great job at preserving the detail and aggressive character of his voice. The AT 4060 signal was then routed into our Manley Voxbox for amplification into Pro Tools. Some additional equalization and compression was added to his voice on the Voxbox to add additional clarity and depth.
Since Gradur enjoyed a big sound to his voice, it was decided that doubling all verses and tripling all hooks would be the best way to produce his raps. Two “in out or embellishment” tracks were also added for each verse to help add additional expression to key words and phrases. These tracks were then panned 50% left and right. An occasional “adlib or atmosphere” track was added to the verses as well, but was not used in every song. The occasional in out track was added to the hooks as well, though we found not every song needed one.
The hardest thing going in our sessions with Gradur, was our English/French language barrier. Our engineer Kris was not too fluent with the French language as Gradur wasn’t with the English language. Some simple hand signs and gestures were invented to help speed along the lines of communication during the sessions, and by the end of the week, communication was no longer an issue.
Once all recording was done for a song, the vocals were then mixed in with its corresponding instrumental using plugins like the Sony Oxford GML EQ and Waves REQ for equalization. For all dynamic processing, (compression, de-essing, expansion) we used the Waves RAxe, RCompressor, RDeesser, RVox. For effects like chorus and reverb we used Digidesign’s Short Delay and Reverb One, Waves Metaflanger, and the Sonnox Oxford Reverb. For special effects like delay, distortion and filtering, we used the Digidesign Delay, DFi and EQ series as well as the Waves Metaflanger, Multi-tap and H Delay. We used Antares Autotune for all auto tuning. Additional post production tricks were then added such as beat cutting, stutter edits, record stops, and instrumental manipulation. Each final mix was then routed into the Waves C4 multiband compressor/expander to glue the instrumental and vocals together a little better, and then routed into the Waves L3 for maximization to match current industry standard RMS models.
On the final day of recording the last few bounces were made and files transferred. We all said our goodbyes. Hand shakes, bad jokes, and smiles filled the room and photos were taken. We all knew that this would not be the last time working with each other as over the course of 7 days, good friendships and business relationships were definitely made.
Overall, the Gradur recording sessions went extremely well. Gradur and his management originally planned to record only 9 songs, but because of our effectiveness at keeping recording sessions moving along quickly and productively, they were able to actually record 13 songs. This of course, is how we like to do things here at Studio 11. Keep it fun, keep it productive, keep it professional, and most importantly, keep it simple.
Page 11 of 24 « First ... « 9 10 11 12 13 » ... Last »